Sunday, 9 October 2011

Banana and pecan loaf cake with toffee icing

After three months at grandmas I can't tell you how many cakes I encountered. Every day I'd return home and there'd be at least one new cake to eat. Sometimes more than one. One day when rooting around in the 'naughty cupboard' I found six cakes. I'm not kidding - six. 

It's a good job I don't really like sweet baked goods, otherwise I could have been suffering from rotten teeth and a rapidly expanding waistline, but every now and again a little cake is exactly what's needed. And after a big week moving home and city, an easy, grandma style, restorative cake was called for.

The thing I really like about banana cake is it doesn't feel too naughty even though it is of course, quite indulgent. Fruit being in it means I can scoff the leftovers at breakfast and feel entirely justified in doing so. 

I made this cake in my food processor, this is because I lost my electric whisk in the move and I'm too lazy to do it the old fashioned way - you can make it whichever way you prefer of course, but the food processor will mean you get to eat it sooner and that might help make your decision...  

This recipe will make 2 loaf cakes. For the loaf:
4 small-ish bananas, or 3 big 'uns - I like to use ones that have very dark skins, their flavour is more banana and caramel-like and their flesh is much softer
160g self raising flour
1.5 tsp bicarbonate of soda
200g golden caster sugar
100g unsalted butter
2 heaped tablespoons creme fraiche
The seeds from a fat vanilla pod 
2 handfuls of pecan nuts, or use walnut halves if you prefer 
2 eggs, beaten
A pinch of salt 

For the toffee icing:
2 tablespoons salted butter
2 tablespoons brown sugar
2 tablespoons milk
125g icing sugar, sieved 
A few pecan halves for decorating the top 

Method:
- Preheat your oven to 150 degrees
- Cream the butter and sugar together until fluffy, then add the eggs, creme fraiche, vanilla seeds, butter, salt, bicarbonate of soda, and bananas and mix again. Then add the flour and mix for a final time. Stir in the pecan nuts by hand.
- Grease two loaf tins with butter and pour the mixture between the two tins. Pop into the oven and bake for around 40 minutes - depending on your oven this may take longer or slightly less, simply shake the tin and when the cakes no longer wobble in the centre, spear the centre with a knife and if it comes out clean then they're ready 
- Remove from the oven and turn out onto a cooling rack
- Now for the icing, which must be done when the cake has completely cooled and not before
- In a pan place the butter and both kinds of sugar and cook on a medium heat until the sugar has totally dissolved, if it doesn't completely dissolve it will leave you with icing that has a granular texture 
- Add the milk to the pan and stir into the mix, turn the heat up and continue stirring as it cooks, for a minute, then remove from the heat
- Pour over the cake and dot the top with the pecan halves, wait for the glassy icing to cool before eating. Goes especially well with a strong black coffee.  

Cupcake tortillas

I was facing a dilemma: Should I make the tortilla and fill it with peas and fluffy goat's cheese, or with piquant pepperoni and roasted peppers?

I know. In light of other (far more) pressing global concerns, my lunch is rather insignificant. But nevertheless it was a conundrum I was facing this week. Then the answer struck me - the cupcake trend may be over, but I could use their colourful silicone cases to make miniature tortillas with both fillings, no compromise required. Yes, I could have my cake and eat it (excuse the pun, I couldn't resist).  

These'd be ideal at a party, several varieties stacked high on a cake stand. Finger food that's pretty and a little bit different - and they'd also work a treat as a lunchbox snack. 

The filling ideas are vast, so if you don't like the two I made simply substitute those ingredients for others you prefer, ideas could include:
  • Crisp chorizo and Manchego cheese
  • Sun-dried tomato and fresh basil 
  • Gorgonzola and walnut  
  • Good old ham and cheese
  • Prawn and fresh chili 
For 12 cupcake tortillas:
10 eggs
100g cheddar cheese
6 rounds of goat's cheese cut off a log 
A handful of frozen peas
4 of the small orange fresh peppers, or one large red/orange pepper
Olive oil 
Sea salt and black pepper
6 slices of pepperoni - I chose a pepperoni that's rounds would fit inside the case. If you get one that's larger simply slice it up into strands
2 heaped tablespoons creme fraiche (full fat or reduced) 
12 silicone bake cases

Method:
- Preheat your oven to 180 degrees
- Lightly oil the pepper or peppers and pop into the oven for 30 minutes, you're looking for them to start to colour and really soften, not turn black 
- When it's done, take it out of the oven and leave to cool, leaving the oven on 
- Lightly oil the silicone cases with olive oil (the silicone should make them easy to come out but I've not always found this to be the case, the oil helps the process along a bit)
- Lay the oiled cases out onto a baking sheet
- In a jug (easiest for the pouring) mix the eggs and creme fraiche together with a fork until combined, then add a generous scrunch of salt and lots of black pepper 
- Using your fingers remove the stalk end of the pepper and its seeds from inside. Then tear it into strips roughly
- Now to start filling the cases...
- A handful of peas in six of the cases then a round of goat's cheese in each, and some of the roasted peppers in the other six cases and a pinch of the cheddar cheese. Fill the cases half way up with the egg mixture, then add more peas to the pea tortillas, and the pepperoni slices topped with more roasted peppers to the others. Then finish them by pouring the egg mixture into the cases again, filling them up to the top. Drop a few little olive oil dots onto the top of the cases and pop into the oven for around 20-30 minutes.
- You'll know when they're done because when you give the tray a little shake there'll be no wobble in the centre. 
- Remove from the oven and leave for 10 minutes in their cases, before turning them out onto a cooling rack. Piling onto a cake stand before eating is optional but cute.

Saturday, 3 September 2011

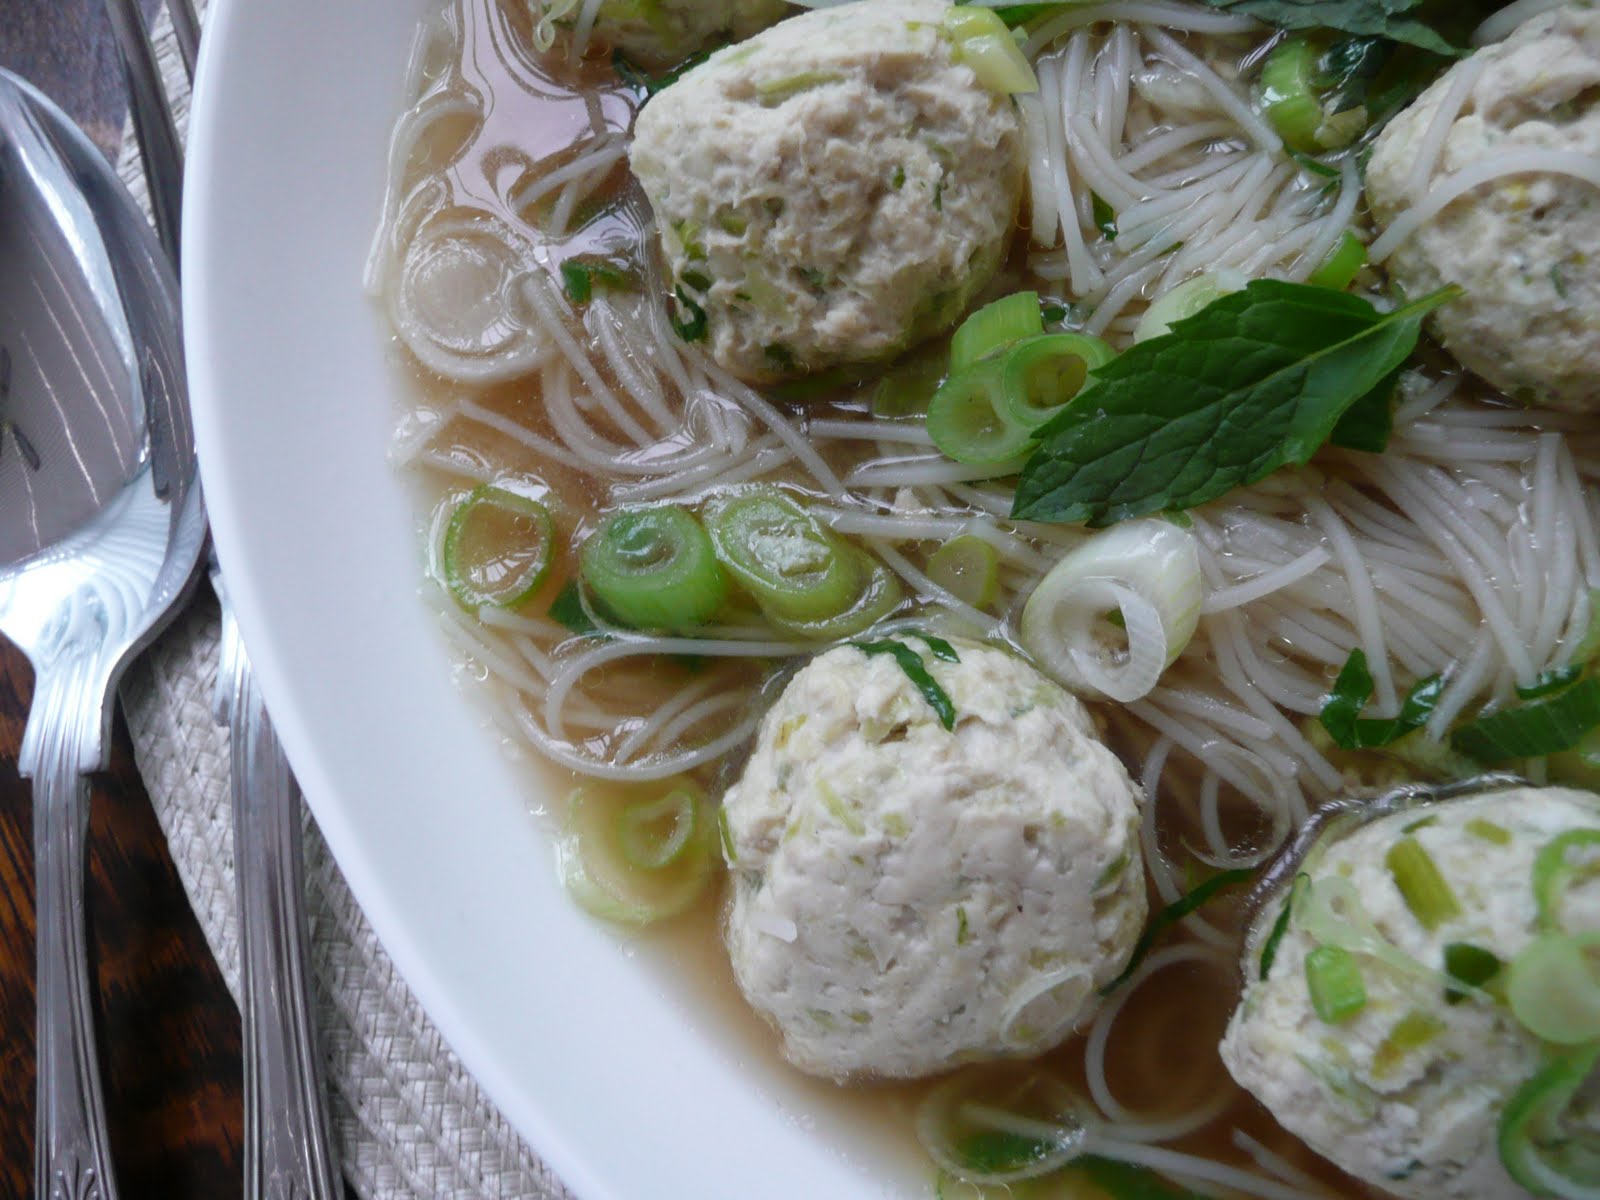
Oriental chicken meatball soup with noodles

Restorative and healthy food of the highest order. When feeling a little run down (or in my case, like you've been overdoing things), chicken noodle soup really does hit the spot. But yeah, you might have guessed, in my world it's got to be oriental.

I got the idea for this dish from a lovely blog called Tes at Home which I found through Tastespotting. The image alone whet my appetite and I knew instantly when looking at it that I needed to cook it as soon as possible. So post Friday night fun, today became that day.

The dish takes a little while to cook if you haven't got any homemade chicken stock hanging around, but it's relatively easy and mainly involves putting the pot on the hob and leaving it be - so low involvement even though it takes a while.

Making it will reward you with deliciously clean and aromatic oriental flavours and the lightest, fluffiest little chicken dumplings. As you might imagine, the dish would benefit from some red chilli so if you're into the hot stuff add a little to the meatball mixture, and on serving, be prepared to not want to share it with anyone else.  

For two:
1 whole chicken
2 large knobs of ginger, sliced length ways
6 spring onions, 4 top and tailed and 2 top and tailed and finely sliced
1 clove of garlic
A handful of fresh mint
A shot of light soy sauce
10 star anise
A tablespoon of black peppercorns
3 carrots, peeled and roughly chopped
2 onions, peeled and quartered
2 egg whites and 50mls water together in a bowl with a little salt
3 celery stalks, roughly chopped
A couple of drizzles of toasted sesame oil
Skinny rice noodles, made up as per the pack instructions and cooled ready for use
Sea salt flakes
A clean tea towel

Method:
- Start by removing the breasts of the chicken from the carcass - you do this by slicing down the top bone either side and cutting the breasts away. Discard the skin and set the breasts aside
- Now remove the chicken legs and place the carcass and legs into a deep saucepan with the celery, onion, carrot, half the ginger, star anise and black peppercorns
- Cover with enough cold water to cover the lot and put it on the hob on a medium heat. Simmer uncovered for 3 hours then turn the heat off and leave it to cool a little
- Whilst its simmering you can make the meatballs (I made 20 smallish balls from the mixture). Into a food processor combine the other half of the ginger, garlic, 4 whole spring onions, sesame oil and a scrunch of salt and blitz until they form a paste, add the chicken breasts and blitz again until its all finely minced and the ingredients are all combined. Then using your hands simply make up the small meatballs and then place on a plate into the fridge to firm up
- Remove the chicken legs and pick off any meat from the carcass and set them aside - you don't need this chicken meat for the recipe but it tastes delicious and you can use it in something else another day
- Strain the liquor through a fine mesh sieve and discard all the vegetables and bits
- Add the soy sauce to the pot and b ring the strained liquor to the boil, once boiling take it off the heat and stir in the egg whites, stir through and leave for a minute, then strain again through a fine mesh sieve - the egg helps collect loads of the impurities
- To make the liquor super clear and clarified, you can now either use a special muslin sieve, or you can fashion one out of a clean tea towel and an extra pair of hands. Take a clean saucepan and hold the tea towel to the top of it, forming a well in which to pour the liquid into, then do this gradually, whilst holding onto the tea towel to keep it suspended. Pour all the liquid through it and the towel will catch all the nasties and leave you with a saucepan of clear and clarified stock
- Pop the liquid onto simmer gently and add enough cold water to the pot to give you enough liquor for two of you to eat (depends on how much it reduced before really so this isnt exact)
- Now whilst the pan is on a medium heat, pop your chicken meatballs into the pan. Once they're done you'll find they float to the top - this takes around 6-7 minutes. As the meatballs start to float more impurities will come to the surface - you simply need to skim these off with a ladle
- Place the rice noodles into the pan to heat through along with the spring onion and shredded meat
- Ladle into bowls, eat, and feel good

Friday, 26 August 2011

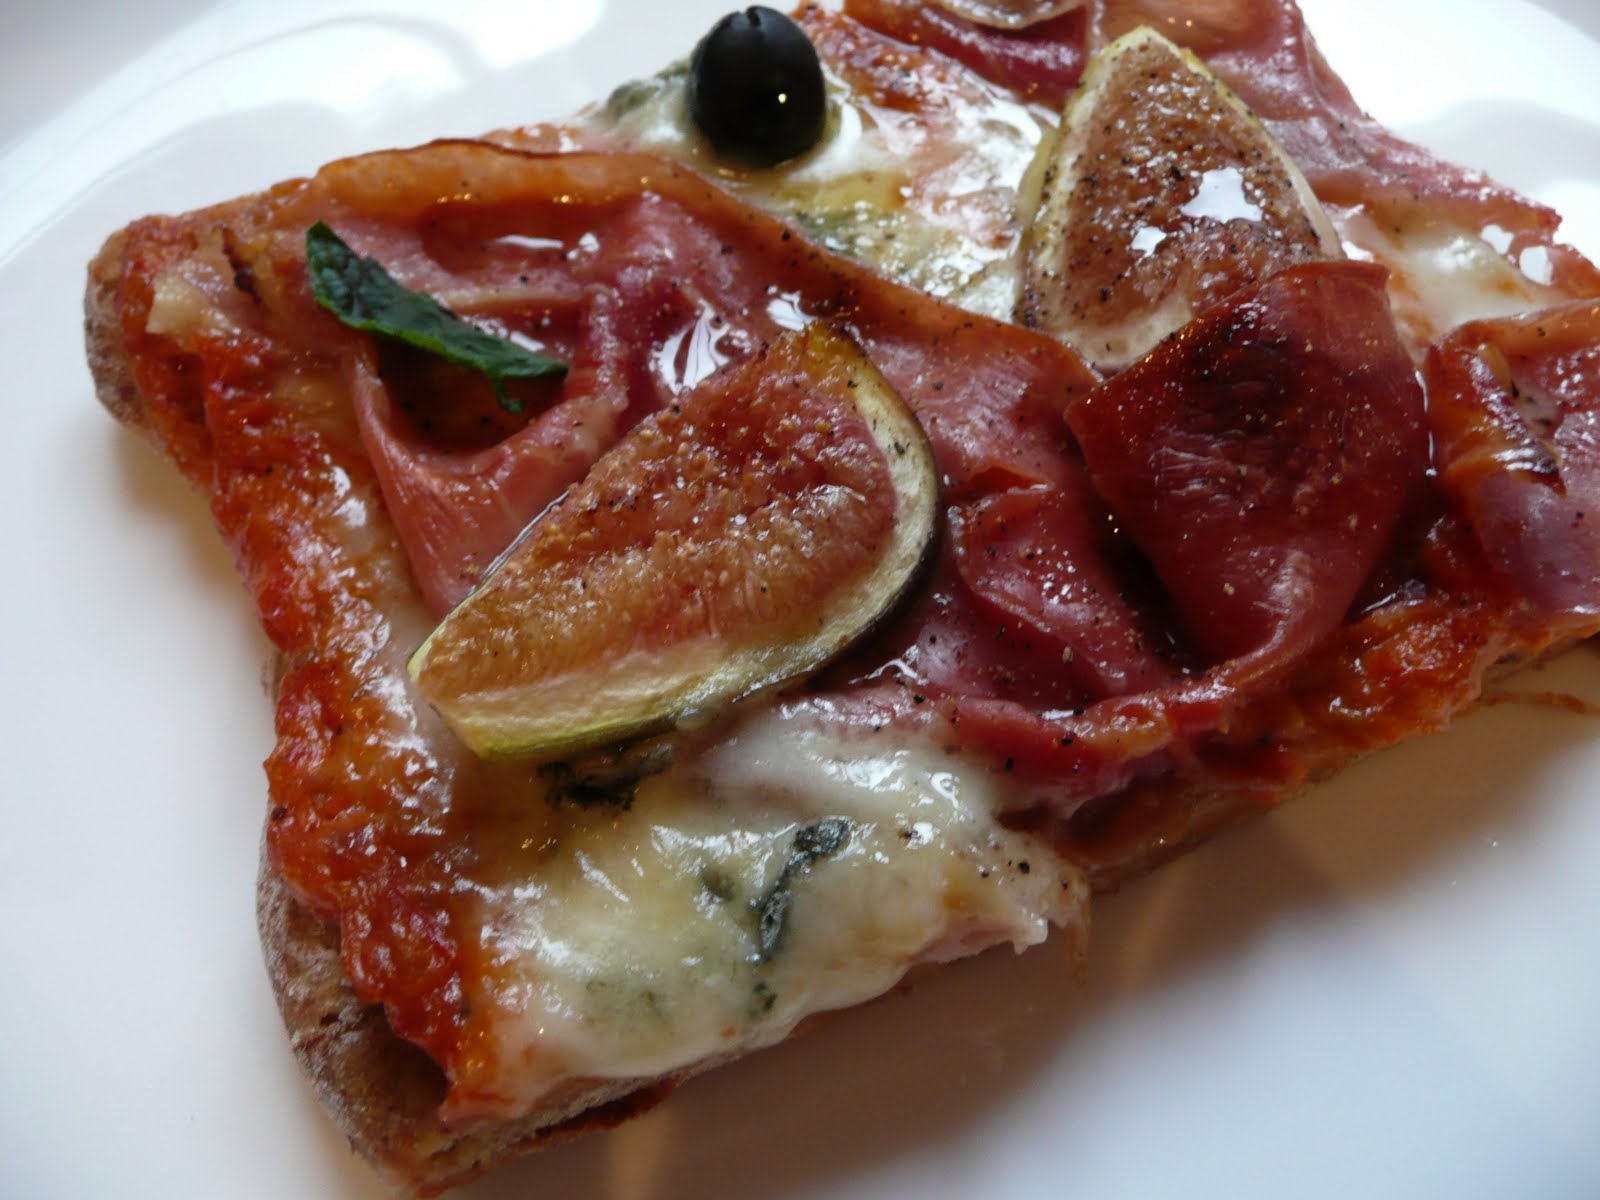
Gorgonzola, serrano ham and fig flatbread pizza

It started out as a humble little flatbread with a couple of toppings.  But by the time I got home, the idea for it had turned into something more akin to a pizza - crammed with decadent toppings and a rich, slow roasted sauce on which to sit them.

I chose these ingredients because I love each of them individually, and because when combined they contrast beautifully and taste as vibrant and bright as they look.


The base sauce started out as a simple oven roasted tomato, olive oil and red onion blitz, but I fancied making it extra slinky with the addition of some mascarpone and this became the smooth and buttery orange base for the other toppings - it's an easy and useful sauce to know how to make because it can be used in all kinds of things from soups to pastas to gratins.


The natural inclination here might be to use basil as your herb of choice to finish the pizza off, and it would certainly taste splendid, but I want to hang onto the last vestiges of the summer a bit longer and the fragrant mint works with the figs to do just that - its fresh bright taste lifts the rich flavours of the pizza perfectly.


For 2/3 people

340g spelt flour (made up of half white and half wholemeal)
1 teaspoon yeast granules
1 cup of warm water
1 teaspoon of runny honey
4 ripe figs
150g gorgonzola, cut into strips
700g fresh tomatoes, cut into quarters
2 red onions, peeled and quartered
Extra virgin olive oil
2 tablespoons mascarpone cheese
A handful of fresh mint leaves
A handful of stoned black olives
Freshly ground black pepper and sea salt

Method:

- Preheat the oven to 180 degrees
- Place your tomatoes and red onions into a roasting tin and give a liberal dousing of olive oil and grind of black pepper and little scrunch of salt, mix with your hands and place in the oven for 1hr 15mins - stirring them every fifteen minutes
Now onto the dough, which needs lots of extra flour on your work top to stop it from sticking
- Add 2 scrunches of salt, honey and the yeast to the cup of warm water and leave for 10 minutes
- In a mixing bowl place the flour and onion seeds, make a hole in the centre of the dough (reserving a bit for kneading) and pour the water in, then using your hands mix it all together until you've formed a ball of dough
- Turn it out onto a lightly floured surface and knead gently for a couple of minutes, then place it into a floured bowl and cover with cling film for an hour
- When the tomatoes are done take them out and put into a food processor with the mascarpone cheese and blitz until smooth
- Take the dough out of the bowl and turn it out onto a floured surface and roll it out in one single piece, either round or square - depending on the shape and size of the baking sheet you'll be cooking it on
- Lay it onto a lightly oiled baking tray and bake for 11 minutes. Remove it from the oven and now you're ready to add the toppings
- Pour as much of the sauce on as you need (I had extra left over) and use the back of a spoon to smooth it out to the edges of the flatbread
- Then drape on the serrano ham, gorgonzola and figs, give the figs a drizzle of olive oil and the dish a grind of black pepper and place back into the oven for 9 minutes
- After 9 minutes remove it from the oven and dot the olives over it along with the mint leaves and some more olive oil
- Cut into wedges and devour - drink of choice to accompany it is optional, though I had gin and it worked very nicely indeed

Monday, 22 August 2011

Crab cups

I so wanted crab rangoons tonight (who doesn't take pleasure in deep fried trashiness from time to time?) but after lots of hard work at the gym recently I'd have felt just too guilty if I'd indulged in those naughty parcels of tastiness.

But there'll be no tears before bedtime for me, because luckily I was surfing Tastespotting and up popped a great idea and dish substitute - I could get my crab in crispy coating fix without some of the fat induced guilt.

Using gyoza wrappers as the casing, they're simply placed into a lightly greased muffin tin then sprayed with a little oil and baked until crisp. Once done you can fill them full of all kinds of things - I chose a fresh and crunchy mix of crab meat, spring onion, minced ginger, lime juice, quark cheese, mint leaves, bean shoots and Japanese pepper.

The best thing about these is how easy they are to do, and I cant stress quite how simple they are - they were made and devoured within just 30 minutes. Plus they look so cute, so would be perfect as canapes at a dinner or drinks party - bake the skins off beforehand and pile them full of lots of different fillings before people come round - easy and impressive.

For 9 crab cups
100g white crab meat
3 tablespoons quark cheese
Juice of half a lime
A small pinch of chopped fresh coriander
Half a teaspoon minced ginger
1 spring onion
A handful of fresh bean sprouts 
9 gyoza skins
Spray cooking oil
Japanese pepper
A scrunch of sea salt

Method
- Preheat your oven to 180 degrees
- Spray your muffin tin and place in the gyoza wrappers into the indentations, then spray the gyoza skins with the oil and sprinkle them with salt. Bake until turning golden - this should take around 10 minutes)
- Combine the remaining ingredients (apart from the Japanese pepper and mint leaves) in a bowl and set aside
- Remove the shells from the oven once done and leave to cool for 5 minutes
- Pile the filling into the shells and top with the mint leaves and Japanese pepper
- Job done

Sunday, 21 August 2011

Vietnamese style noodle salad with crab and candied star anise peanuts

It certainly doesn't feel like the summer's over round my gaff. At 24 degrees it's just delightful in the garden this afternoon. Perfect place for a lunch that allows me to indulge my love of Vietnamese food.

As a hardcore noodle addict I use to worry about the summer and my noodle eating - what would I do when it got too hot to indulge in broth based slinky noodle creations? How would I get my much needed fix? Well, the Vietnamese do it with aplomb, and their bun salad (no baked goods included) allows me to enjoy my much loved noodles nice and chilled and super tasty.

This isn't a strictly authentic version but it is very close, and if you're into all things oriental then you'll hopefully love it all the same.

The candied nuts are really delicious. I'm off chilies still but using the star anise powder (or five spice if you can't find it) really does bring the Asian vibe to them deliciously. The quantities in this recipe will make more than you need for the dish, but they make a great snack to enjoy with a beer so won't go to waste.

For two:
As many medium thickness rice noodles as you'll eat (I use one broad sheet for two here) made up as per the pack instructions and sat waiting in cold water
200g white crab meat
2 spring onions, finely sliced
2 carrots, peeled and finely grated
A handful of mint leaves
A handful of coriander leaves
3 tablespoons palm sugar - grated
1 large knob of ginger, finely grated or minced
Juice of two limes
150g salted peanuts
Half a teaspoon ground star anise powder (and if you cant get it from your Asian supermarket then use 5 spice instead)
A generous scrunch of sea salt
30mls water
75g white sugar

Method:
- Start with the peanuts, place the nuts, sugar and water into a small pan and cook on a lowish heat. The process takes around 15 minutes - basically cook the peanuts keeping stirring them until the sugar water reduces right down and you get a granular sandy texture (as in the pic) this is normal and keep going, stirring all the time, basically they'll get darker and darker and go from being dry and sandy back to being golden and liquid. When you've got a good dark caramel colour over them add your scrunch of salt (I like salt so the double helping from the nuts and this is good, balances well with the sugar) and your star anise or five spice powder, stir through and then pour out of the pan onto a baking sheet - leave there to cool
- In a large bowl place the grated carrot, then the noodles - now combine them with your hands, pulling the noodles up and mixing the carrot through it - this salad really does need to be done by hand, much easier
- Into a bowl place the grated ginger, lime juice and palm sugar and mix with a fork. Now using your hands flake the crab meat into this mix - its also a good idea to do this because if you feel any shell you can get rid of it before eating
- Pour the crab and dressing mix over the noodles, then add the mint, coriander and spring onion and same as before, mix the ingredients together with your hands until its all combined
- Place into bowls ready for eating, top with the candied nuts and top with some extra fresh mint leaves. Devour

Monday, 8 August 2011

Sundried heritage tomato, roasted yellow courgette and taleggio galette

Perks of the job like this are something I'll definitely miss. Not many work places give you access to delicious ingredients you might otherwise find difficult to get hold of.

Before now I've had fantastic crab, fish and wines (not to mention non edible treats such as serving dishes and glam light fittings) but the second I saw the heritage tomatoes make an appearance on the menu I knew I'd have to get myself a kilo.

I love how irregular and multi coloured they are, pretty and unusual and entirely unlike anything you could buy in our supermarkets. But it aint all about good looks, they taste fantastic too.

I was supposed to make this galette over the weekend, but had a bit of an encounter with a bee sting in my mouth, resulting in anaphylaxis and stint on a drip in QMC (it's all high drama with me y'know) so tonight is the first time I've had chance.

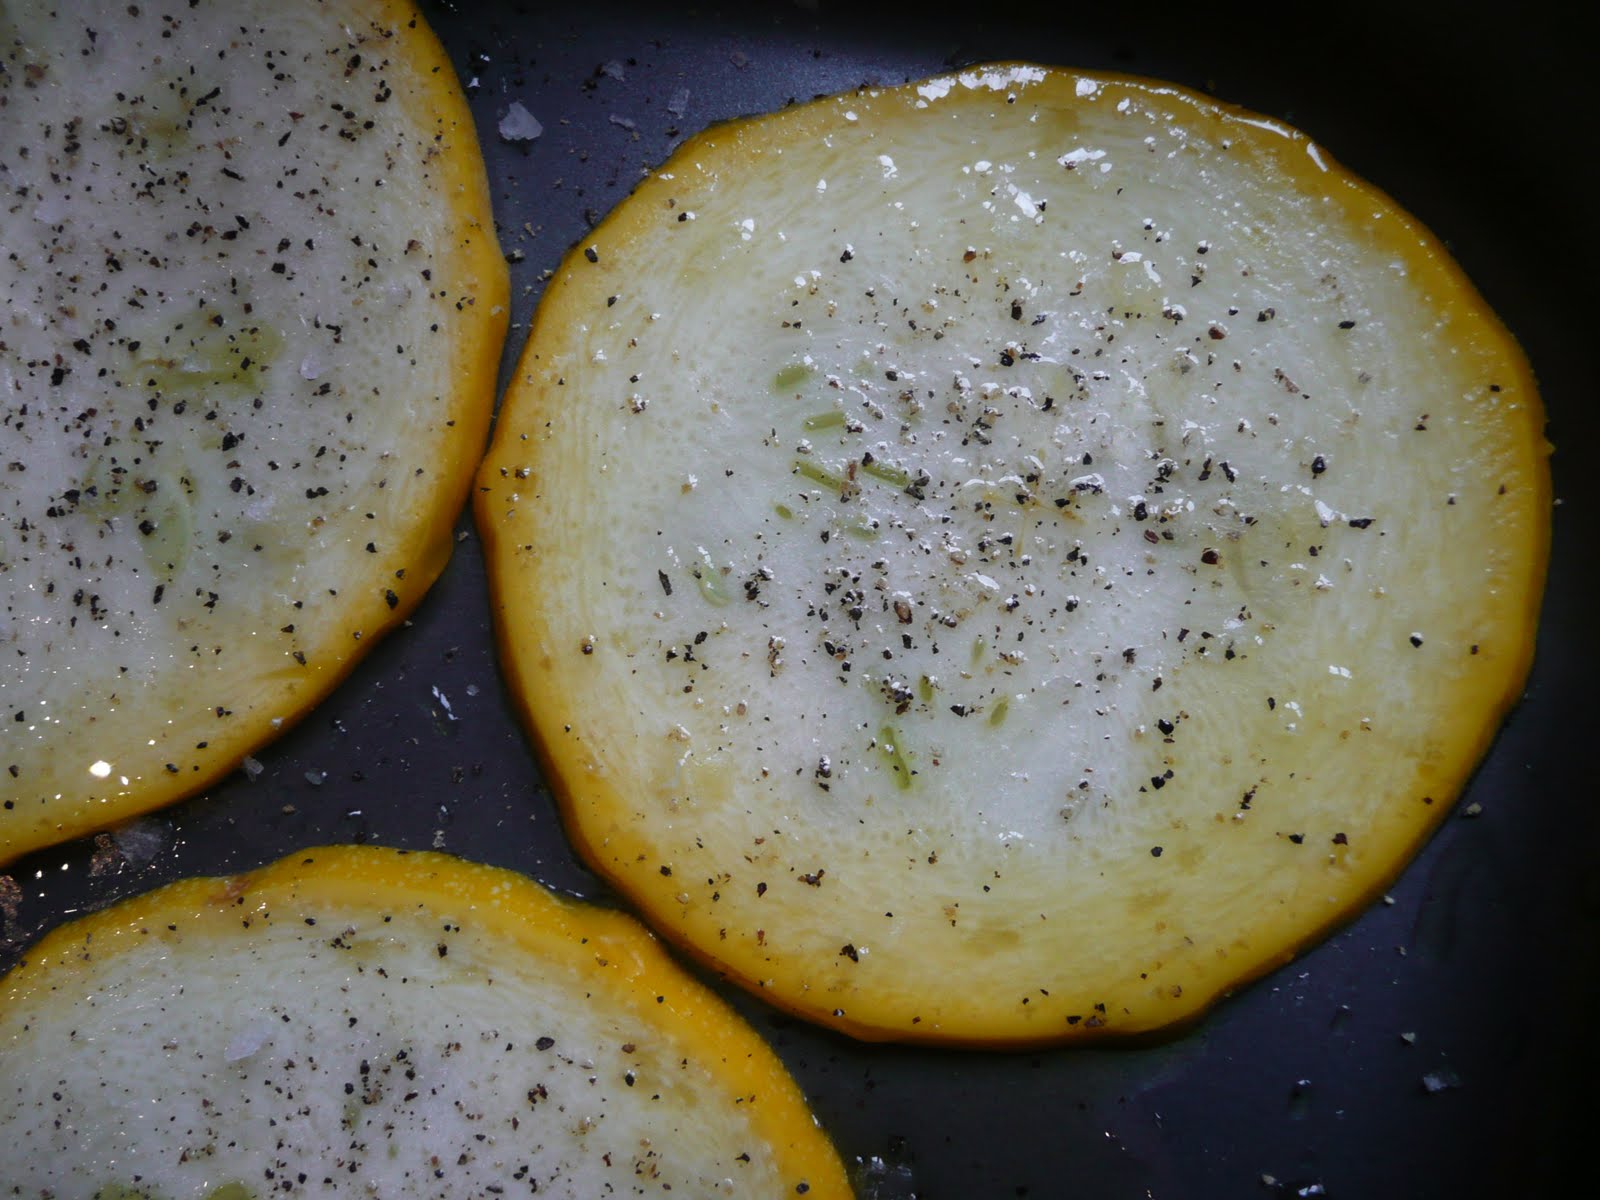
The amazing yellow globe courgettes came from my good friend Zoe, she (well, her dad) grew them and kindly passed them on to me. I've kept one to stuff it with tasty things, but the creamy yellow discs of the other two I decided would complement the sun dried tomatoes and salty taleggio cheese beautifully.

A galette seems to have a number of definitions. Sometimes made with a bread-like dough, sometimes with a pastry, the contents can be filling or savoury but the the wonderful thing about it is its rusticity. No pie dish? No problem - simply pile in the fillings and crimp up the edges. Et voila.

In fact, it's so easy you'd be able to whip one up as an impressive dinner party starter no problem. And the filling ideas are endless, expect a crab and pumpkin related combination soon...

For four:
750g heritage tomatoes
100g finely grated pecorino cheese
2 globe courgettes, sliced in rounds around 4mm thick
1 pack of shop bought shortcrust pastry - taken out of the fridge about 20 minutes before you need it
350g taleggio cheese, diced or in slices
A handful fresh marjoram
500mls extra virgin olive oil
Full fat milk for brushing the pastry with
Sea salt and black pepper
A little plain flour for dusting

Method:
Start with making the sundried tomatoes

- Cut the tomatoes up into a mixture of quarters lenghth ways and simple slices - it all depends on the haul you end up with as to what would look best - it's some variety you're after
- Preheat the oven to 100 degrees and lay the tomatoes onto a non stick baking sheet and bake for 2 hours
- Remove and place them into a bowl, add a generous scrunch of salt and grind of pepper, and then drizzle them in extra virgin olive oil - enough to cover them. Set aside (they'll keep several days under the oil if you want to make them in advance)

Now onto the galette
- Preheat your oven to 190 degrees, brush a baking sheet with olive oil and lay the sliced courgettes onto it side by side (not overlapping) you may need to do this over a few sheets to fit them all on
- Brush the tops of all the courgettes now and give a grind of black pepper (no salt as the cheese is salty enough)
- Bake in the oven for around 25 minutes or until they've started turning golden at the edges - you don't
- Just before they're ready to take out of the oven, roll out the pastry onto a lightly floured surface until its around 5mm thick - don't worry about the edges being ragged, you'll be folding them in anyway
- Take the courgettes from the oven and move them with a fish slice to a plate, then re oil the base of the baking sheet and drape the pastry onto it
- Lay the taleggio chunks or slices straight onto the pastry (leaving nearly an inch border at the sides), then top with layers of the courgettes until it's completely covered, followed by the heritage tomatoes (I chose a pattern but it really doesn't matter)
- Bring the edges in to form a crust, and then brush the pastry with milk
- Bake for 30 minutes before removing and sprinkling on the grated pecorino, then put it back into the oven for 15 minutes
- Once ready, remove from the oven, drizzle with some of the oil that the tomatoes were covered in and give a sprinkling of the marjoram and a little scrunch of salt
- Eat (chablis went beautifully but another rounded or crisp white would be great also)